|
Your room is your sanctuary, where you can truly express yourself. But let's face it, those trendy decor items at the store can be seriously pricey. Don't worry, though – we've got the perfect solution: affordable teen home DIY projects that are not only budget-friendly but also loads of fun!
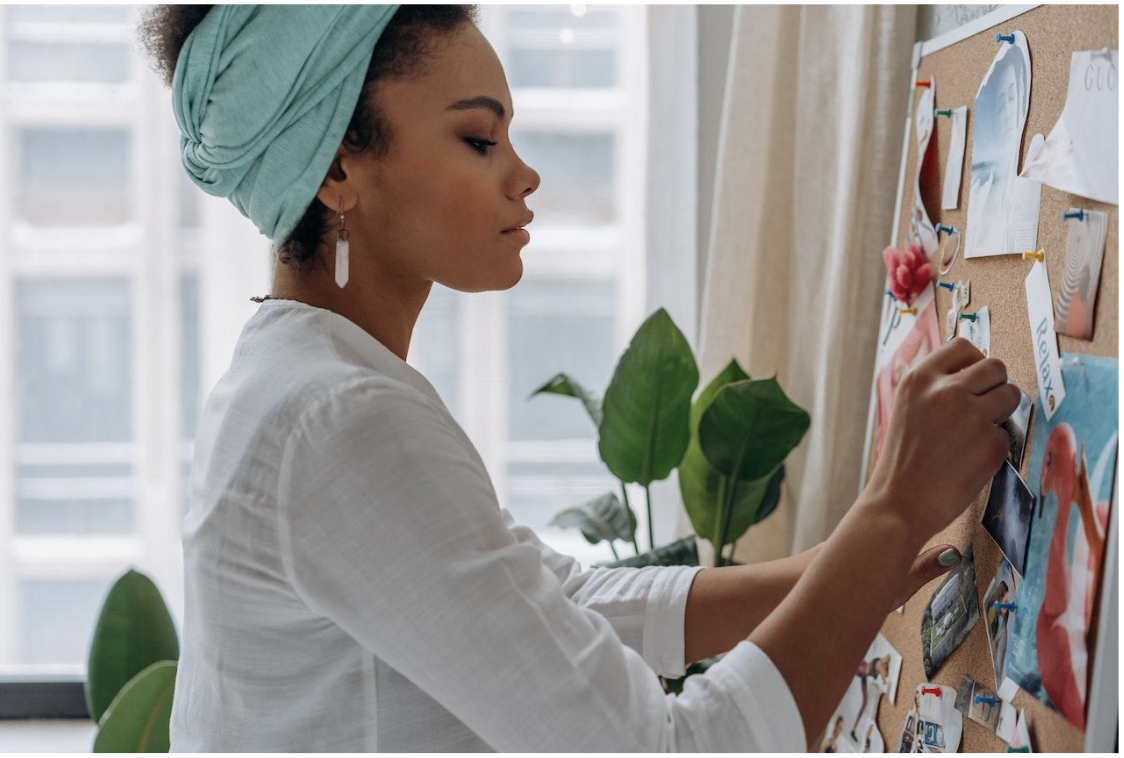
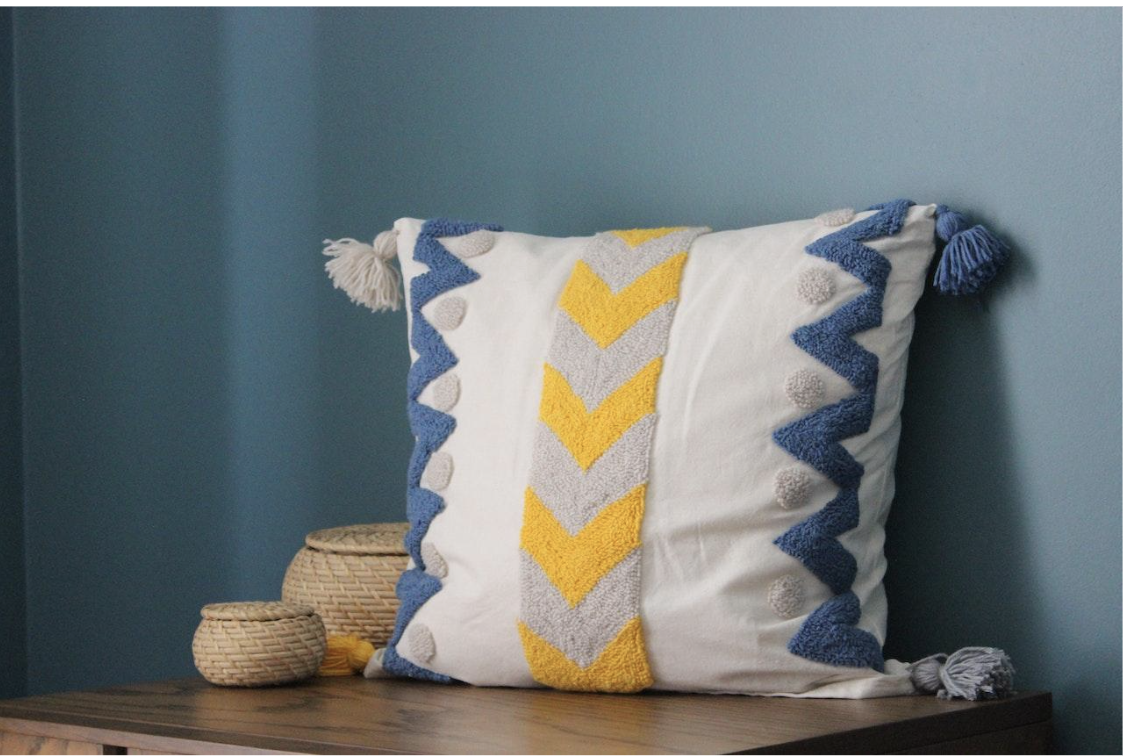
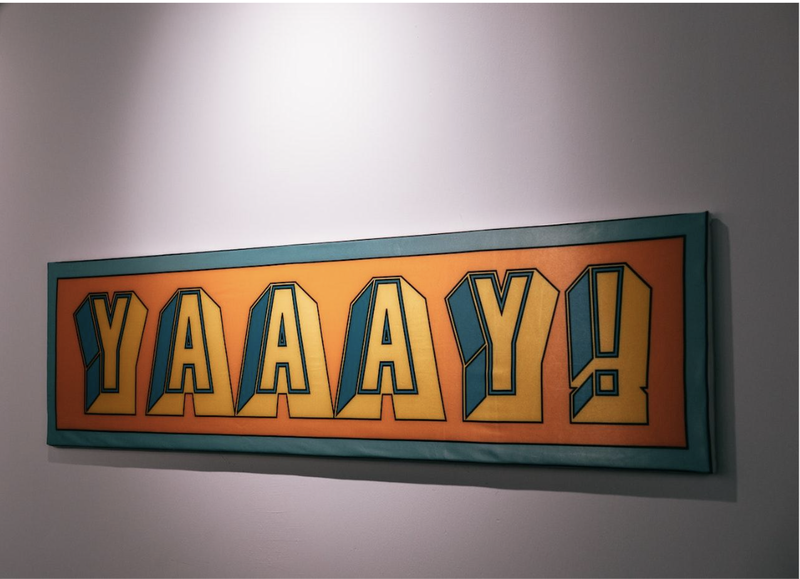
Photo collage wallTo start your photo collage wall, gather materials such as a variety of photo frames in different sizes and styles, a hammer, nails or adhesive strips, a level, and, of course, your cherished photos. Consider using frames with a cohesive color scheme or mix and match for an eclectic vibe. Furthermore, lay out your frames on the floor to plan your arrangement. Once you're satisfied with the layout, it's time to hang them up. Therefore, use a level to ensure your frames hang straight and evenly spaced. Remember, safety should be your priority. If you are using nails, carefully hammer them into the wall at the desired positions. Alternatively, adhesive strips provide a no-hassle, damage-free option. After securing the frames, insert your favorite photos and stand back to admire your work. When arranging your photos, get creative! You can group them by themes, such as family, travel, or favorite quotes. Experiment with different shapes and angles, allowing some frames to overlap for a dynamic look. Customized corkboardTo craft your customized corkboard, you'll need a corkboard or corkboard tiles, fabric or decorative paper, scissors, a strong adhesive or glue, and any decorative elements like ribbons or buttons to add a personal touch. Begin by measuring and cutting your chosen fabric or decorative paper to fit the corkboard's surface. Also, leave a little extra around the edges to fold over. Next, apply a layer of adhesive or glue to the corkboard's surface. Carefully place the fabric or paper on the corkboard, smoothing out any wrinkles or air bubbles as you go. Fold the excess fabric or paper over the edges of the corkboard and secure them with adhesive. Allow it to dry completely. The beauty of a customized corkboard lies in its functionality. You can use it to organize and display various items in style. Pin up important notes, calendar events, and to-do lists to keep your life on track. Use colorful pins or decorative pushpins to add a fun touch. Additionally, you can attach small baskets or pockets to hold pens, pencils, and other essentials. Hand-painted accent wallHere are a couple of things you will need: paint in your chosen colors, paintbrushes of various sizes, painter's tape, drop cloths to protect your floor, and a step ladder for those hard-to-reach spots. Begin by selecting your accent wall and choosing your paint colors. However, don’t forget to clean the wall surface and ensure it's dry before you start. Use painter's tape to carefully outline the area you want to paint. It's important to apply the tape evenly for clean lines. Lay down drop cloths to catch any drips and splatters. When it comes to creating unique patterns, your options are endless. Start with basic techniques like stripes, chevrons, or herringbone for a classic look. For a more artistic touch, try freehand designs or stencils. Ombre effects, where one color gradually blends into another, can add a stunning gradient. Sponge or rag rolling can create textured patterns. Don't forget about geometric shapes or even a mural if you're feeling adventurous. Experiment with different brush strokes, layering colors, and blending techniques to achieve the desired effect. Upcycled mason jar decorThese sustainable and affordable teen home DIY projects require just a few simple materials. Gather mason jars in various sizes, paints or spray paint, brushes, sandpaper, and optional accessories like twine, ribbon, or beads for embellishments. Before you start, clean and dry the mason jars thoroughly. If you want to create a vintage look, lightly sand the surface. Next, apply your chosen paint color using even brush strokes or spray paint for a smooth finish. Let them dry completely before adding a second coat if needed. Once dry, you can get creative by adding decorative accents like hand-painted designs, stenciled patterns, or even decoupage with tissue paper for a unique texture. Customize the lids or tops of the mason jars to match your design. The versatility of upcycled mason jars knows no bounds. Use them as flower vases to bring a touch of nature indoors or as candle holders to create a cozy ambiance. Transform them into storage containers for kitchen staples like sugar, coffee, or spices, or even as stylish bathroom organizers for cotton balls, Q-tips, or makeup brushes. Hanging mason jars with twine can become rustic lanterns or tea light holders for outdoor gatherings. Additionally, you can fill them with layers of colorful sand or spices to create eye-catching decor pieces. Customized throw pillowsTo get started, gather materials such as plain pillow covers, fabric in your chosen pattern or color, scissors, a sewing machine or fabric glue, and stuffing material like fiberfill or pillow inserts. Begin by selecting your fabric and cutting it into squares or rectangles, depending on the size of your pillow covers. Measure and cut the fabric slightly larger than the pillow cover to allow for seam allowances. Next, fold the fabric in half with the pattern facing inward and sew or glue three sides, leaving one side open. Turn the fabric right side out, stuff it with your chosen filling material, and then sew or glue the remaining side closed. When it comes to choosing fabric and designs, let your imagination run wild! Also, consider the color scheme and overall style of your room. Mix and match fabrics with different textures, patterns, and colors to create a visually appealing arrangement. Solid colors can provide balance, while patterns and prints add personality. For added interest, don't be afraid to experiment with unique shapes, such as round or bolster pillows. Embellish your pillows with decorative elements like buttons, tassels, or embroidery to make them truly one-of-a-kind. Personalized room signCrafting a personalized room sign is a fantastic way to make your space uniquely yours. This is one of the best ways to make your new room feel like home after a move. If you already have a room sign you’d like to reuse, work with movers such as Number 1 Movers Canada to transfer it carefully. However, if this is your first room sign, gather materials like a wooden plaque or signboard, acrylic paints in your preferred colors, paintbrushes, stencils or lettering templates, a pencil, and optional embellishments like glitter or wood stains. Start by selecting a wooden plaque that suits your style and space. Sand it to smooth out any rough edges or surfaces. Next, choose a paint color that complements your room's color scheme and apply a base coat. Once it's dry, use stencils or freehand your message or design onto the sign using a pencil. Now comes the fun part - paint your design with precision, layering colors and adding details as desired. Allow the paint to dry thoroughly between coats if necessary. Sprinkle some glitter or apply wood stain for a rustic finish. Finish with a protective clear coat to seal in your design and ensure its longevity. Finally, attach hooks or adhesive strips to the back for easy hanging. Personalized room signs offer endless possibilities. You can opt for a nameplate with your or your family's name or a motivational quote. Summary of affordable teen home DIY projects From customized throw pillows to hand-painted accent walls, each one of these affordable teen home DIY projects empowers you to infuse your style and creativity into your surroundings. These DIY endeavors not only enhance the aesthetics of your space but also provide a sense of accomplishment and ownership. Now, your space will be a testament to your creativity, resourcefulness, and individuality.
0 Comments
Leave a Reply. |
Bella BarskiHi, I'm Bella. ArchivesCategories |


